
Last updated October 15, 2026
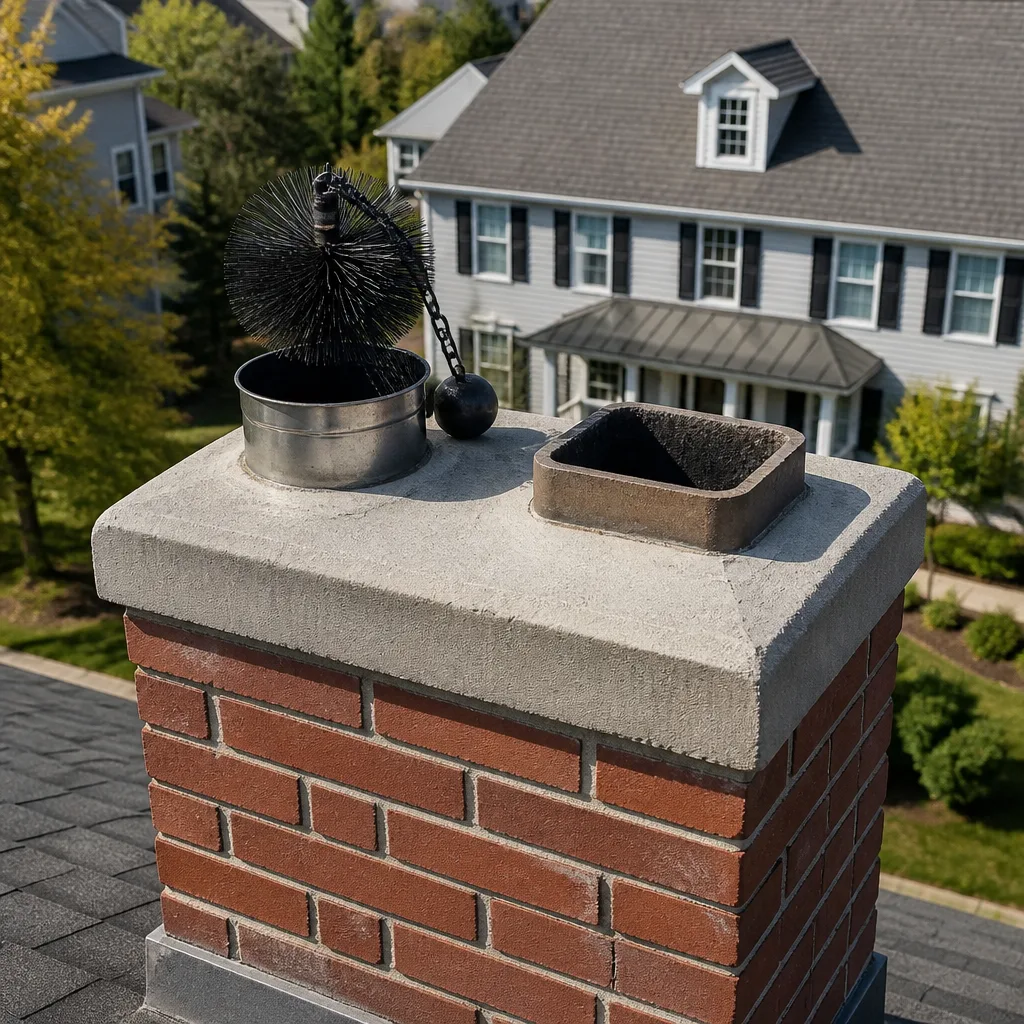 Sweep & inspection
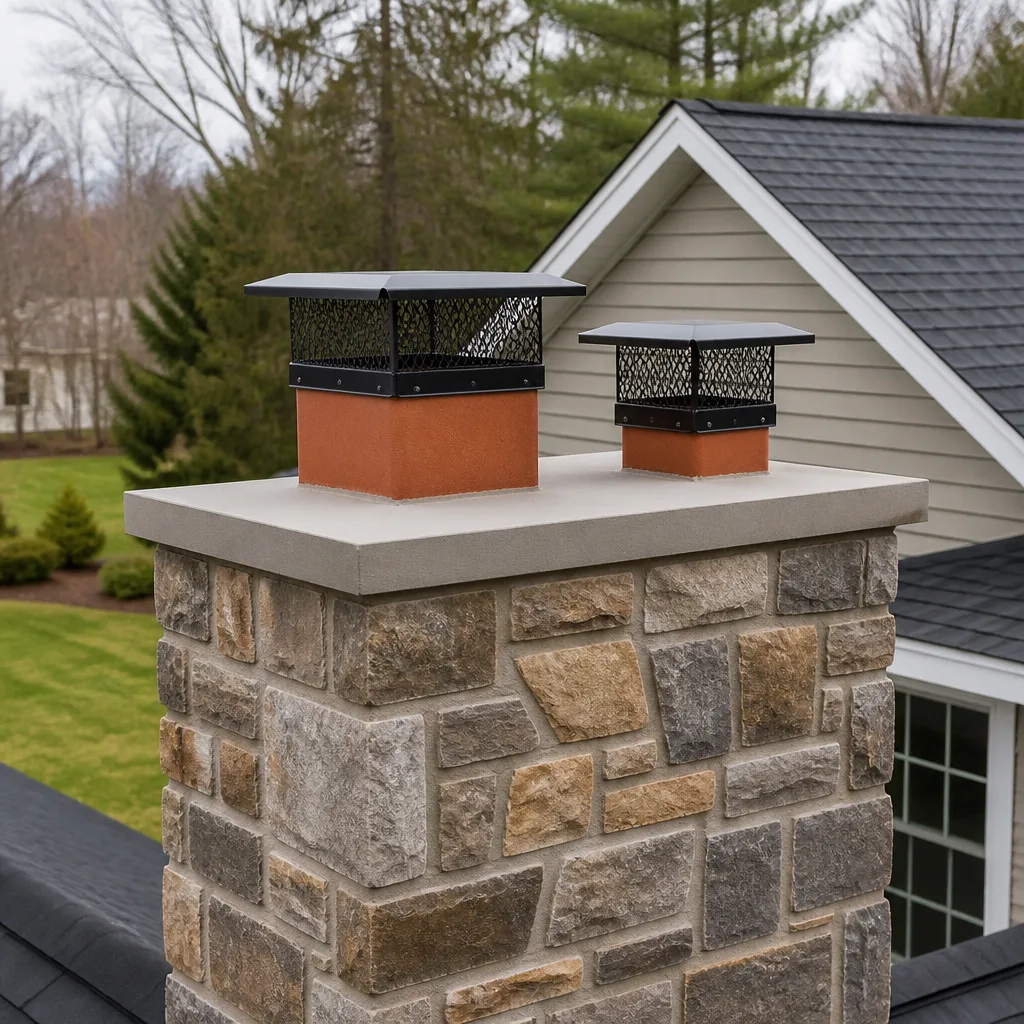 Caps & crowns
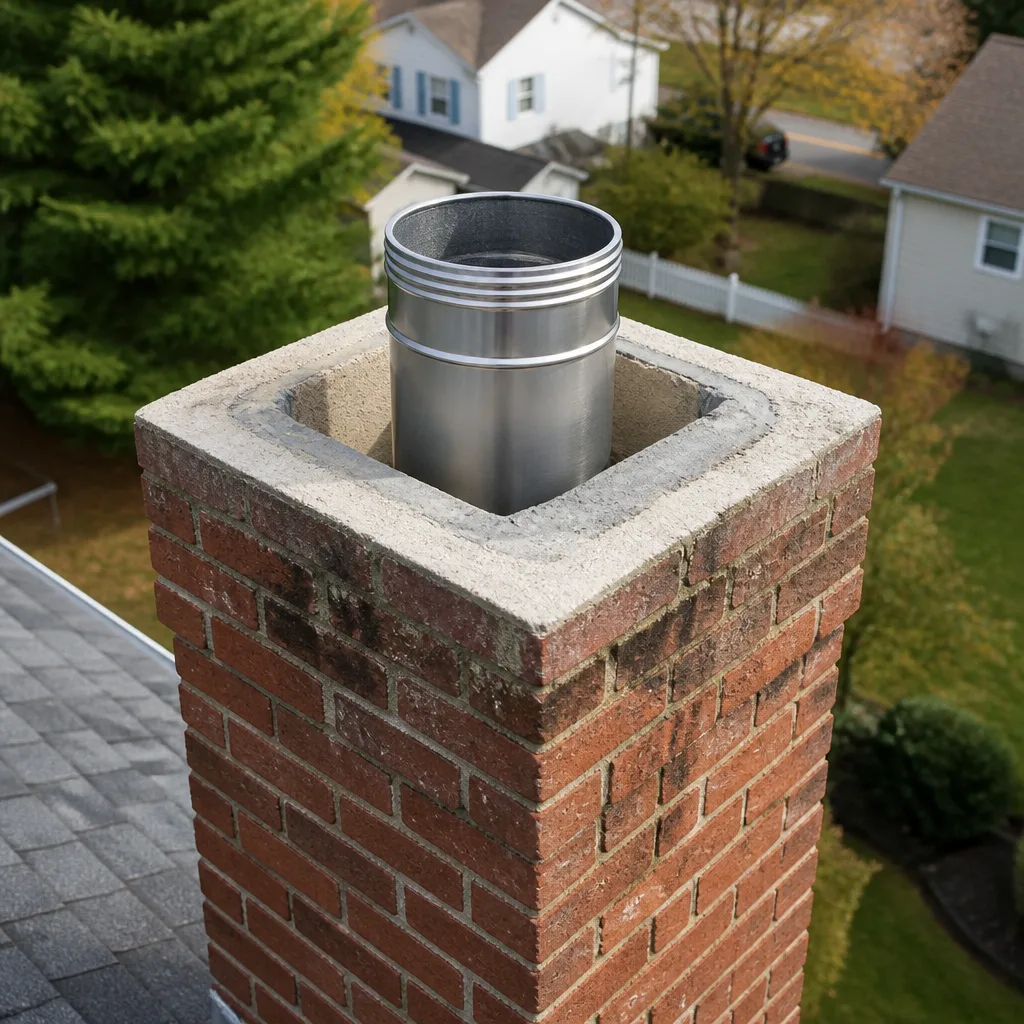 Flue relining
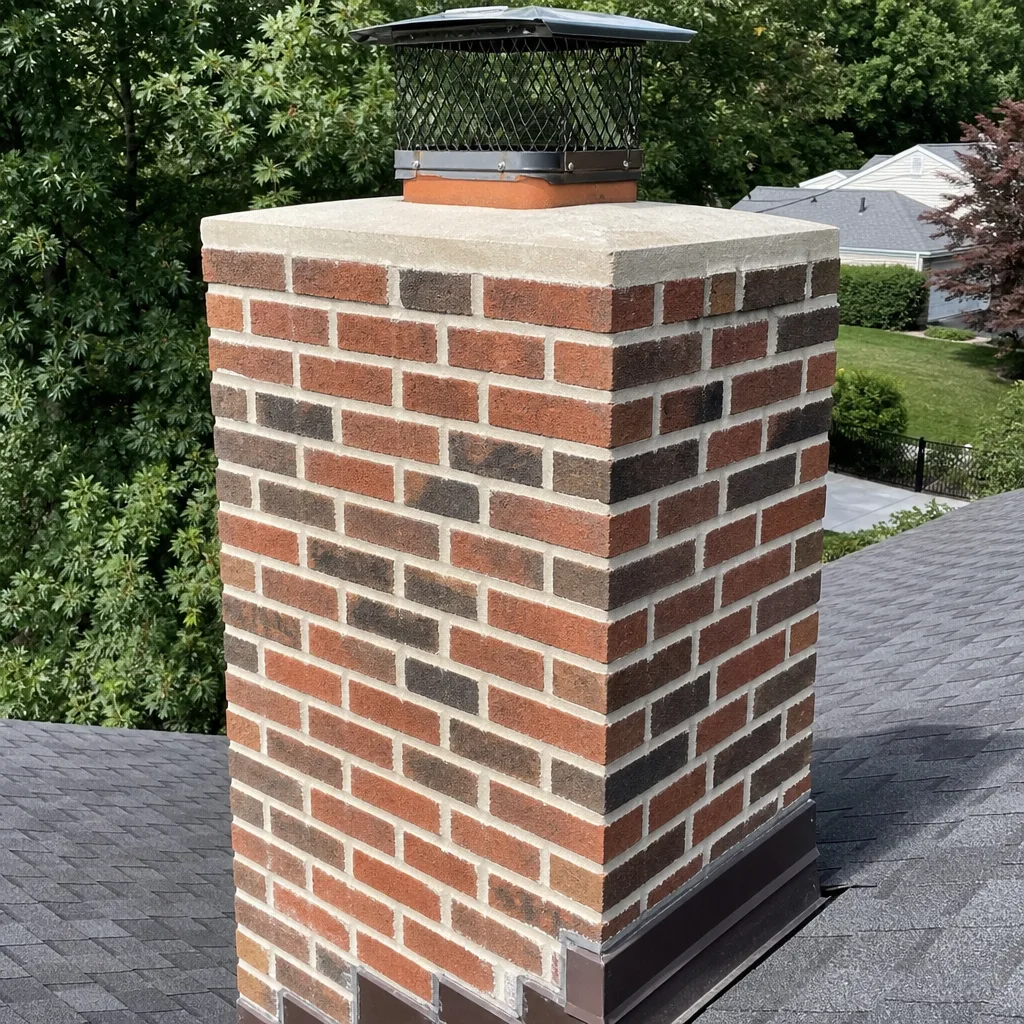 Masonry repair
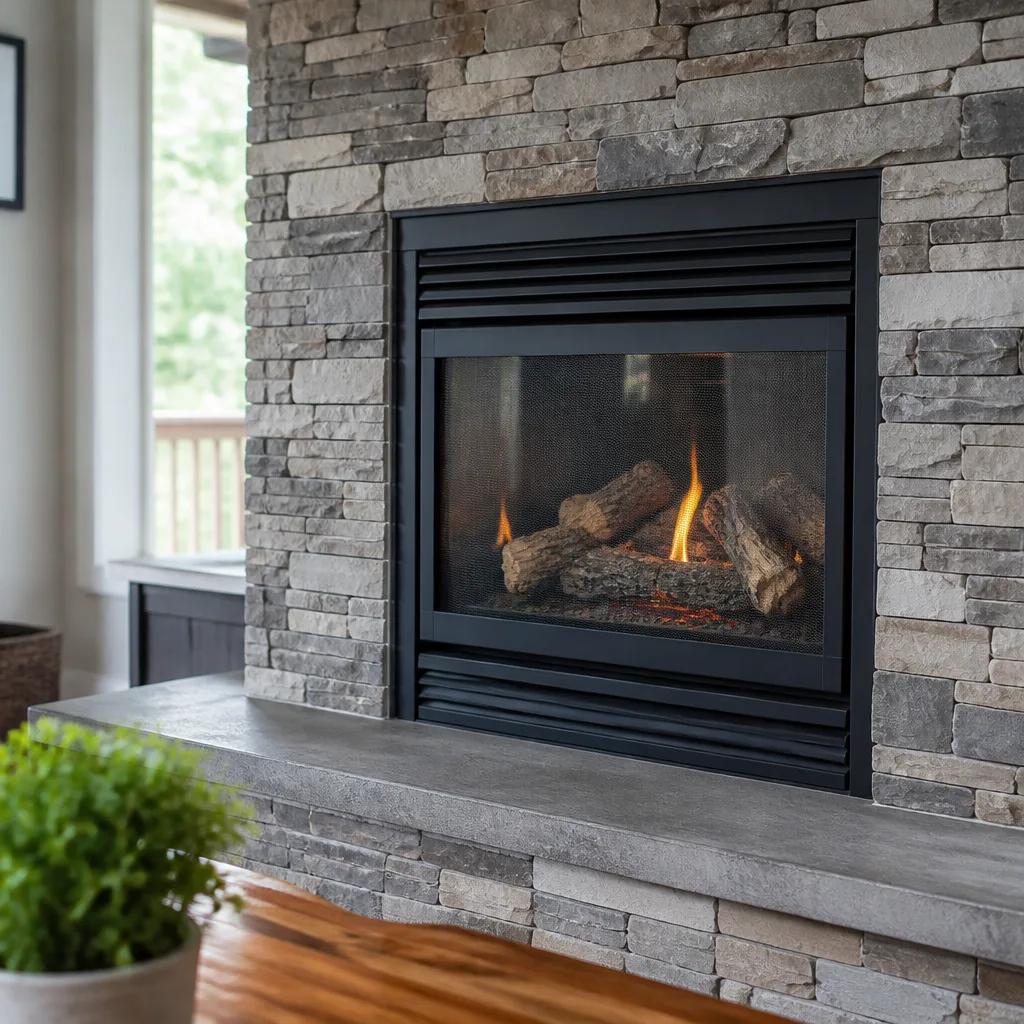 Gas fireplace service
Level 1 sweep and inspection to the NFPA 211 annual standard - flue, crown, cap, and flashing checked and photographed
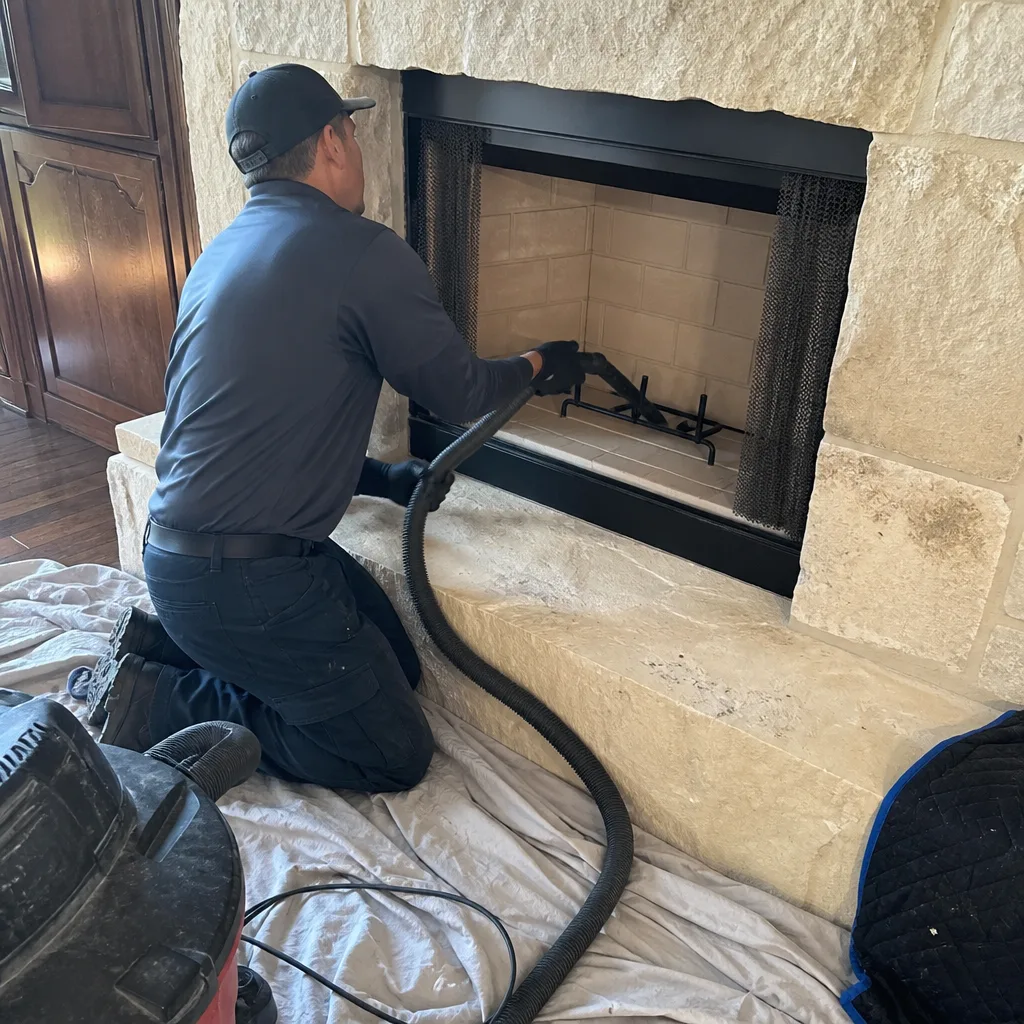
Chimney sweep logs do not sweep chimneys. They loosen some creosote - which then falls where a brush and vacuum still have to collect it.
Chimney Sweep Maintenance Checklist for Austin Homeowners
Every chimney checklist on the internet tells you to look for cracks and clean out debris. Not one of them tells you to check your smoke chamber for the spalling that Austin’s summer heat cycles cause, or that your damper seal degrades faster here because attic temperatures regularly hit 140 degrees from June through September. That’s a problem, because Austin’s climate breaks chimneys in ways that national checklists simply don’t account for. This guide is built for the way chimneys actually fail in Central Texas. You’ll learn the 11 checks you can do yourself before the first fire, the 4 things that genuinely require a trained sweep, and the post-season routine that keeps moisture from sitting in your flue all summer. For a deeper dive, see The Complete Guide to Chimney Cleaning in Austin.
Quick Answer
A proper chimney maintenance checklist for Austin homeowners includes 11 do-it-yourself checks built around Central Texas heat-cycle damage and humidity, plus 4 tasks that require a professional Chimney Sweep services. Run the full checklist before your first fire each fall after the long summer, and run the shorter post-season version after your last fire in spring. Most chimney sweeps in Austin run between $189 and $329, and a professional inspection with camera documentation costs around $129 to $249 depending on whether it’s a Level 1 or Level 2.
Styles & brands we work with
Table of Contents
- The 11-Point Pre-Season Checklist for Austin Homeowners
- Heat-Cycle Damage: What Central Texas Summers Do to Your Chimney
- The 4 Items That Require a Professional Sweep
- The Post-Season Checklist: Protecting Your Flue Until Fall
- What to Document and Photograph Every Year
- When to Stop Using Your Fireplace Immediately
- Common Mistakes to Avoid
- When to Call a Professional
The 11-Point Pre-Season Checklist for Austin Homeowners
Run these checks in September or October, before you light the first fire of the season. Austin’s summers are long and hot, and your chimney sits through four months of thermal stress before you ever put a flame to it. Working through this list takes about 30 minutes and requires nothing more than a flashlight, a phone camera, and a willingness to look closely.
- Check the damper opens and closes fully. Look up into the firebox with a flashlight. Open the damper all the way, then close it. The seal should feel snug. Here’s the Austin-specific part: the damper gasket and metal frame warp slightly during months of 100-degree attic heat, which is why a damper that sealed fine last winter often doesn’t this fall. If it doesn’t seal, cold air pours down the flue all winter and your heating bill shows it.
- Look for spalling in the smoke chamber. Shine your flashlight up past the damper into the smoke chamber, the angled area above the firebox. Austin’s summer heat cycles cause the brick and mortar in this area to expand and contract repeatedly. When it fails, you’ll see flaking brick faces, white powdery mortar residue, or actual chips sitting on the smoke shelf. Clay flue tiles show the same spalling pattern. If you spot it, your chimney needs an inspection before use because this is how flue gases escape into walls.
- Scan the firebox walls for cracked mortar joints. Austin’s climate produces wild temperature and humidity swings, and firebox mortar moves with them. Look for hairline cracks wider than about 1/16 of an inch. Small cracks that haven’t changed are cosmetic; cracks that grow year over year are structural.
- Look up the flue from inside the firebox. You’re checking for obvious blockage: bird nests, wasp nests, squirrel debris. Austin’s chimney swifts are protected, so if you have birds, note it and call a sweep. Never attempt to remove a bird nest yourself; you may be violating federal law and you’ll definitely want a professional to deal with the mess and mites.
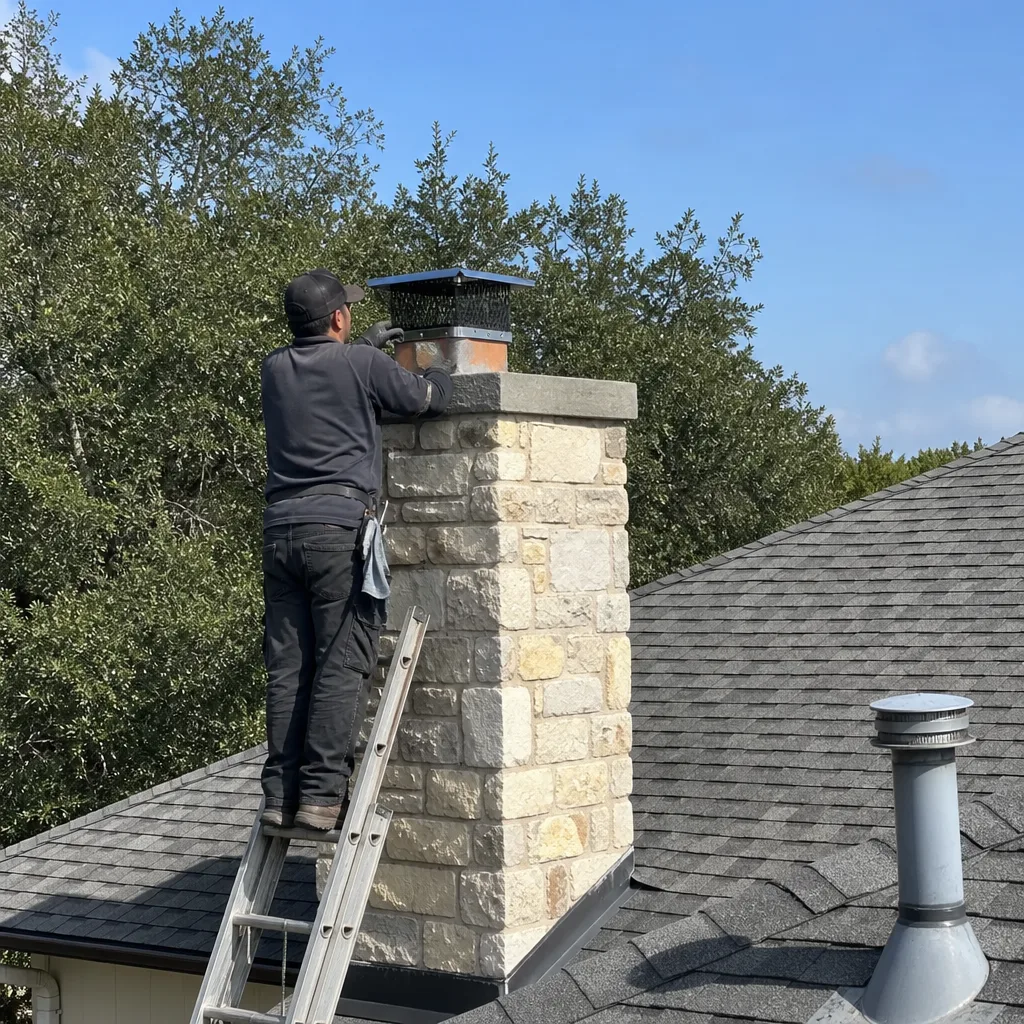
- Check the chimney cap from the ground. Walk outside and look at your chimney. The cap should sit straight. If it’s missing, tilted, or has visible rust holes, water and animals have an open invitation. Austin’s sudden spring deluges can dump two inches of rain in an hour, and an uncapped flue catches every drop.
- Look at the crown mortar. The crown is the concrete slab on top of the chimney. From the ground, look for visible cracks or areas where the mortar has crumbled away. Crowns take the worst of Austin’s summer sun, and hairline cracks become channels for water in the rainy months. A deteriorated crown is the number one cause of water damage to fireboxes and dampers in Central Texas.
- Inspect the exterior brick for efflorescence. That’s the white, chalky staining that appears on the outside of the chimney. It means water is moving through the masonry. In Austin, the cycle usually looks like this: summer heat opens micro-cracks, fall rain gets in, and efflorescence appears. If you see it, your chimney is leaking and needs repairs before the damage compounds.
- Check for dark stains on the ceiling or wall near the chimney. These aren’t always chimney problems, but if a dark stain appears near the chimney chase it’s worth investigating. Water intrusion from a failed flashing point often shows up as discoloration in the drywall first. Austin’s subtropical humidity makes mold growth fast, so don’t wait the way you might in a drier city.
- Sniff the firebox for musty or smoky odors. A clean chimney should smell faintly of ash, not must. A damp, musty smell in August or September means water has been sitting in the flue, which breaks down mortar and creates the environment for mold.
- Test a small burn for draft. Before your first real fire, on a cool day when the outside temperature is at least 15 degrees lower than your indoor temperature, light a few sheets of newspaper on the grate. The smoke should pull up and away within 15 to 30 seconds. If smoke curls into the room instead, you have a draft problem and should not use the fireplace until it’s diagnosed. Austin’s mild early-season weather sometimes makes draft testing unreliable because the temperature differential isn’t strong enough, so if you test on a 70-degree day and smoke hesitates, try again when it’s cooler before assuming the worst.
- Confirm you have a Carbon Monoxide detector within 15 feet of the fireplace. This is not a chimney check as much as a life check, but Austin’s fire department has responded to enough chimney-related CO calls to make it essential. Put fresh batteries in when you run this checklist. If your fireplace vents improperly, a functioning CO detector is the difference between a service call and an emergency.
If you’ve gone through these 11 steps and found nothing concerning, your fireplace is in decent shape for the season. But the checklist isn’t finished, because some things can’t be seen from a ladder or a firebox floor. That’s where the professional-only items come in.
Related reading: Chimney Inspection in Austin covers what our Level 1 and Level 2 inspections include, with camera documentation and photo reports as standard.
Heat-Cycle Damage: What Central Texas Summers Do to Your Chimney
Most chimney damage in Austin doesn’t come from fire. It comes from the sun. Central Texas summers produce sustained outdoor temperatures in the high 90s and low 100s, with chimney exteriors reaching much higher surface temperatures in direct sun. Then nights drop into the 70s. Multiply that cycle by 90 days and you get thermal expansion and contraction that stresses every mortar joint, clay tile, and metal component in the chimney system.
We see it every fall. Homeowners who understand this are able to catch damage early; those who don’t often discover it after a chimney leak has already ruined drywall.
Here’s what heat-cycle damage looks like in Austin specifically:
- Spalled brick faces on the smoke chamber. The inner brickwork of the smoke chamber is the least protected masonry in your chimney. Summer heat pushes water vapor out of the brick; sudden fall rains push moisture back in. The surface layer of brick eventually pops off in thin flakes. This material falls onto the smoke shelf, where it builds up and restricts draft flow.
- Cracked clay flue tiles. Clay liners are brittle. They expand under direct summer heat and contract on cooler nights. After enough cycles, vertical hairline cracks appear. These cracks widen with each season. In our experience across Austin homes, we see failed clay liners most often in chimneys that face west and take afternoon sun, because the temperature differential is most extreme on those surfaces.
- Warped damper frames. Dampers sit at the top of the firebox where warm air rises all summer. Metal dampers, particularly older cast-iron models, warp subtly over many heat seasons. A damper that no longer seats flush is a damper that lets air-conditioned air escape up the flue from May through October, and lets cold air down into the house from November through February.
- Dried-out crown mortar that crumbles. The chimney crown is the flat concrete surface that caps off the masonry. It takes full sun every day. Without reapplication or sealing, the mortar dries and contracts, forming hairline cracks that become channels for the next rainstorm. Austin’s flash-flood-style storms move fast and dump large volumes in minutes; a cracked crown lets water straight into the chimney structure.
None of these failures are unique to Austin, but they develop faster here than almost anywhere else in the country because of the length and intensity of the hot season. That’s why the pre-season checklist matters. A chimney in a northern state might go ten years before mortar cracks; an Austin chimney facing the summer sun may show heat-cycle damage after three.
Our team has been working on Austin chimneys Ashby Chimney Austin home since 2002, and we’ve seen the pattern repeat thousands of times. The homeowners who catch it early spend a few hundred dollars on a repair. The ones who catch it late spend thousands on a rebuild.
The 4 Items That Require a Professional Sweep
There’s a line between what a homeowner can safely check and what genuinely requires a trained chimney sweep. Crossing that line isn’t about gatekeeping; it’s about the fact that some chimney problems hide where a homeowner’s flashlight can’t reach, and the consequences of missing them range from a smoky living room to a chimney fire or carbon monoxide poisoning.
Here are the four items that should always be handled by a professional:
- Creosote removal. Creosote builds up on flue walls every time wood burns incompletely, and it accumulates fastest when the fire burns cool, which happens a lot in Austin because our mild winters encourage small, smoldering fires rather than the hot, fast ones that burn cleaner. A sweep uses brushes sized to the flue to remove this glaze. If you burn oak, pecan, or mesquite (all common Central Texas firewoods), you’re creating creosote at a faster rate than someone burning softer woods elsewhere. This is the single biggest reason to schedule a Chimney Sweep in Austin each year, and it’s never a DIY job because the accumulated material hides behind the damper, in the smoke chamber, and in the upper flue where no ladder will take you safely.
- Camera inspection of the flue interior. This is the only way to see the walls of the flue liner from top to bottom, and it’s the difference between finding a crack in February and discovering a house fire in March. A sweep runs a camera down the flue to document the liner condition, mortar joints, and any hidden blockages. It’s not about identifying the obvious; it’s about catching the tiny vertical crack in a clay liner that’s invisible from the firebox. In Austin, this is particularly important for chimneys built before 1990, when clay tile was the standard and the heat-cycling problem wasn’t yet fully understood in the local building trade.
- Smoke chamber parging and flue resurfacing. When heat-cycle spalling has damaged the smoke chamber, the repair is not a weekend caulk job. The chamber must be parged, meaning a heat-resistant mortar is applied to create a smooth, continuous pathway from firebox to flue. Flue resurfacing, where a coating like HeatShield is used to seal gaps and restore the liner, is also professional work. In our experience, HeatShield’s system works well for Austin because it’s designed to move with thermal expansion rather than fight it. We’ve also used Gelco and Olympia Chimney products for specific repairs. These materials are applied to specific depths and cured under specific temperature conditions; a homeowner can’t buy them at a hardware store, and even if they could, the preparation of the surface is something only a trained hand can do correctly.
- Animal removal and nest extraction. Austin has a protected chimney swift population that migrates through from March through October, plus raccoons, squirrels, and wasps. Removing any of these safely and legally requires understanding the species and the law. Bats are also common in Austin-area chimneys, and they’re protected at the federal level. A professional sweep knows what can be removed, when, and how to seal the chimney afterward so it doesn’t recur. A homeowner with a shop vac and good intentions may inadvertently violate the Migratory Bird Treaty Act, which carries real penalties.
These four items account for roughly 80% of the service calls we run in Austin during the fall. The pattern is always the same: a homeowner runs the simple checks, finds nothing alarming, lights the first fire, and then realizes the chimney isn’t drafting properly, or a neighbor mentions the raccoon they saw on the roof, or the smell of smoke lingers for days after the fire is out. By the time you notice those symptoms, the problem has usually been developing for months or years. The pre-season sweep catches it before it becomes a problem at all.
The Post-Season Checklist: Protecting Your Flue Until Fall
Most homeowners run their checklist before the first fire and stop there. That’s a mistake, and in Austin it’s an expensive one. The post-season checklist is what protects your chimney through the long off-season, when the vast majority of heat-cycle and moisture damage actually occurs. Here’s what to do after your last fire of the year, typically in March or April, before the Austin summer settles in:
- Schedule the post-season sweep. We recommend having the flue professionally swept at the end of burning season rather than the beginning, and here’s why: creosote is hygroscopic, meaning it attracts and holds moisture. When creosote sits in your flue all summer, it absorbs Austin’s humidity and accelerates the corrosion of metal liners and the degradation of mortar. Removing it before summer means the flue sits clean and dry for six months. If you only sweep once a year, doing it in spring is the single most effective thing you can do for chimney longevity in this climate. Pre-season sweeps work too, but the spring approach means you start the summer with a clean flue rather than a dirty one.
- Close the damper and seal the firebox. After the last fire, make sure the damper is fully closed. A closed damper keeps humid Austin air out of the flue and keeps air-conditioned air inside your house. If your damper doesn’t seal well, now is the time to replace it, not in October when the first cold snap hits and every sweep in the city is booked solid.
- Check the cap and crown before the summer sun hits. Give your chimney a final visual inspection from the ground before the heat sets in. Confirm the cap is still seated, the crown hasn’t developed new cracks over the winter, and no new animal activity has appeared. Catching a loose cap in April means a $150 fix; catching it in September after a summer of wind and rain means a $600 water damage repair plus whatever the animals did while they had access.
- Note any changes from the previous year for your records. If a crack in the firebox mortar looks wider than it did in September, write it down and photograph it. If the efflorescence on the exterior brick has spread, document it. Small changes year over year are how you spot a developing problem before it becomes an urgent one. More on this in the documentation section below.
Think of this post-season routine like changing the oil in your car before a long road trip. You wouldn’t wait until the engine started knocking, and you don’t want to wait until your chimney starts showing visible damage either.
What to Document and Photograph Every Year
Austin homeowners rarely think about their chimney until something goes wrong, and when something goes wrong, having a documented history makes the diagnosis faster, the repair quote more accurate, and the insurance claim smoother. We’ve seen homeowners avoid thousands of dollars in unnecessary “full rebuild” quotes simply because they had a photo from three years prior showing the crack the contractor claimed was “recent catastrophic damage.”
Here’s what to document every year, ideally at the same time you run your pre-season checklist:
- Interior firebox photos. Take four photos of the firebox with your phone: one of the left wall, right wall, back wall, and floor. Use the same angle and position each year. These photos create a baseline for mortar joint cracks, brick spalling, and ash buildup patterns.
- Damper photos. One photo of the damper in the open position, one in the closed position. Over time, these show whether the damper is seating differently as the metal warps or the frame shifts.
- Smoke chamber photo. The smoke chamber is the hardest area to photograph without a camera inspection, but holding your phone up through the damper opening and taking a wide shot will capture the visible portion. Spalling and flaking bricks show up surprisingly well with a bright flashlight.
- Exterior chimney photos. From the ground, photograph the full chimney face, then zoom in on the crown, the cap, and any visible areas of mortar. Do this from the same position each year, ideally on an overcast day when there’s less glare.
- Your sweep report. If you’ve had a professional inspection or sweep, keep the written report, including any camera inspection images. These are the most valuable records you’ll have, because they show what the flue looked like from the inside on a specific date.
Store these photos in a folder on your phone or computer labeled with the year. They don’t need to be high art; they need to be consistent. A 2024 photo that shows a clean firebox and a 2026 photo that shows a 3-inch diagonal crack tells an immediate story that saves the contractor time and saves you money.
If you’ve never had a camera inspection, consider starting with one. It gives you a professional baseline for the inside of the flue, which is the one area your phone can’t reach. We include a camera report with every full inspection at Fireplace Repair in Austin, and we’ll walk you through exactly what the images show.
When to Stop Using Your Fireplace Immediately
Some checklist failures are cosmetic and can wait for the next scheduled inspection. Others mean you should not light another fire until the problem is diagnosed and repaired. Here are the stop-use items, in order of urgency:
- Smoke entering the room during a test burn. If smoke curls into the living space instead of up the flue, stop immediately. This means the draft is failing, and the likely causes are a blocked flue, a closed or broken damper, or a structural defect in the smoke chamber. Continuing to burn will fill your house with smoke and carbon monoxide.
- A visible crack in a clay flue liner. If your camera inspection reveals a crack, even a hairline, that liner is compromised. Gases can enter the wall cavity through the crack, and the next fire can widen it. This is a stop-use situation. Flue liner cracks don’t heal; they grow.
- Animals in the chimney. If you hear scratching, see animal debris in the firebox, or spot a nest from the ground, do not build a fire. Smoke and heat can kill trapped animals and cause a house fire if the nest material ignites. Call a professional to remove the animal and seal the chimney.
- Heavy creosote glaze visible on the flue walls. Creosote is the residue that builds up from wood combustion. If it’s thick, shiny, and tar-like, you’re one spark away from a chimney fire. The National Fire Protection Association recommends a professional sweep when creosote reaches 1/8 inch thick, and anything more than that is a hard stop.
- The smell of smoke days after a fire. A fireplace that continues to smell like smoke long after the fire is out means creosote has absorbed into the flue lining and is off-gassing. It also means the draft is weak. This is usually a buildup problem, not a structural one, but it’s a stop-use condition until it’s diagnosed.
- Water actively dripping into the firebox during or after rain. This means the crown, cap, or flashing has failed and water is running into the chimney interior. Burning a fire with water-saturated mortar accelerates the deterioration, and the chemistry of wet creosote creates acids that eat through metal liners.
If any of these items appears on your checklist, stop using the fireplace. The good news is that most of these problems are repairable, and the repair cost at the first sign of trouble is almost always a fraction of the cost after the problem has been ignored through an entire burning season. The bad news is that “I’ll just keep a small fire” is how chimney fires start.
Common Mistakes to Avoid
- Running the pre-season checklist once and never again. Austin chimneys change every summer. A fireplace that passed in October can fail by April. The checklist is a routine, not a one-time event, and the post-season version is as important as the pre-season one.
- Going cheap on a chimney sweep because “it’s just a brushing.” A cheap sweep in Austin often means no camera inspection, no smoke chamber work, no documentation, and sometimes no actual brushing beyond the visible firebox. You’re not paying for the brush; you’re paying for the trained eyes and the written record.
- Ignoring the chimney cap because it’s “out of sight, out of mind.” A missing or damaged cap is the single most common cause of animal entry and water entry in Austin chimneys. It’s also the cheapest fix relative to the damage it prevents. A homeowner who ignores a missing cap for two seasons is almost guaranteeing a four-figure repair.
- Burning wet or green wood from the Austin area. Central Texas has no shortage of oak and pecan firewood, but much of it is sold green or seasoned less than the recommended 6 to 12 months. Wet wood burns cooler, produces more smoke, and deposits creosote eight to ten times faster than properly seasoned wood. If you’re paying for firewood in Austin, ask the supplier how long it’s been seasoned and verify it visually; dark, cracked ends mean seasoned, fresh-cut ends mean green.
- Running the furnace hard during a chimney draft problem. A house with strong negative air pressure (common in newer Austin homes with tight window seals and big HVAC systems) will pull air down through the chimney. This is called backdrafting, and it’s dangerous even when the fireplace isn’t lit. If you notice cold drafts or smoke smells when the AC runs, get it checked before the burning season starts.
- Thinking “fireplaces are decorative” and skipping maintenance entirely. Austin’s mild winters make fireplaces feel optional, and that’s exactly the attitude that leads to the worst conditions. A chimney that isn’t used still needs an annual inspection because the summer heat cycles and spring rains don’t care whether you ever light a fire. Unused chimneys actually develop some problems faster because the flue stays cold and damp.
- Attempting a “DIY sweep” with hardware store rods. Hardware stores sell chimney sweep kits, and some Austin homeowners try them. The problem is that a brush without a camera inspection is just a brush. You remove the visible creosote and leave the hidden cracks, and you still don’t know whether the flue is safe. Worse, an incorrectly sized brush against a clay liner can chip the tiles. If you’re going to spend the afternoon, spend it on a professional who can document the result.
When to Call a Professional
Call a professional when your checklist reveals anything that requires a trained eye or a camera: a spalling smoke chamber, a crack in the flue liner, an animal in the chimney, or a draft problem that doesn’t resolve. Also call if it’s been more than a year since your last inspection, even if everything looks fine. Austin’s climate is too hard on chimneys to skip the annual check. Ashby Chimney Austin offers free estimates in Austin. Call (254) 274-4486. Nathan Corliss and the team have been handling Austin chimneys since 2002, and every job gets a written price before work starts and a written guarantee when it’s done. The Kingswell Guarantee means if a covered repair fails inside the guarantee period, we return and correct it at no charge. No price-switching, no no-shows, no wondering whether you can trust the person walking into your home. That’s the whole point.
See the difference
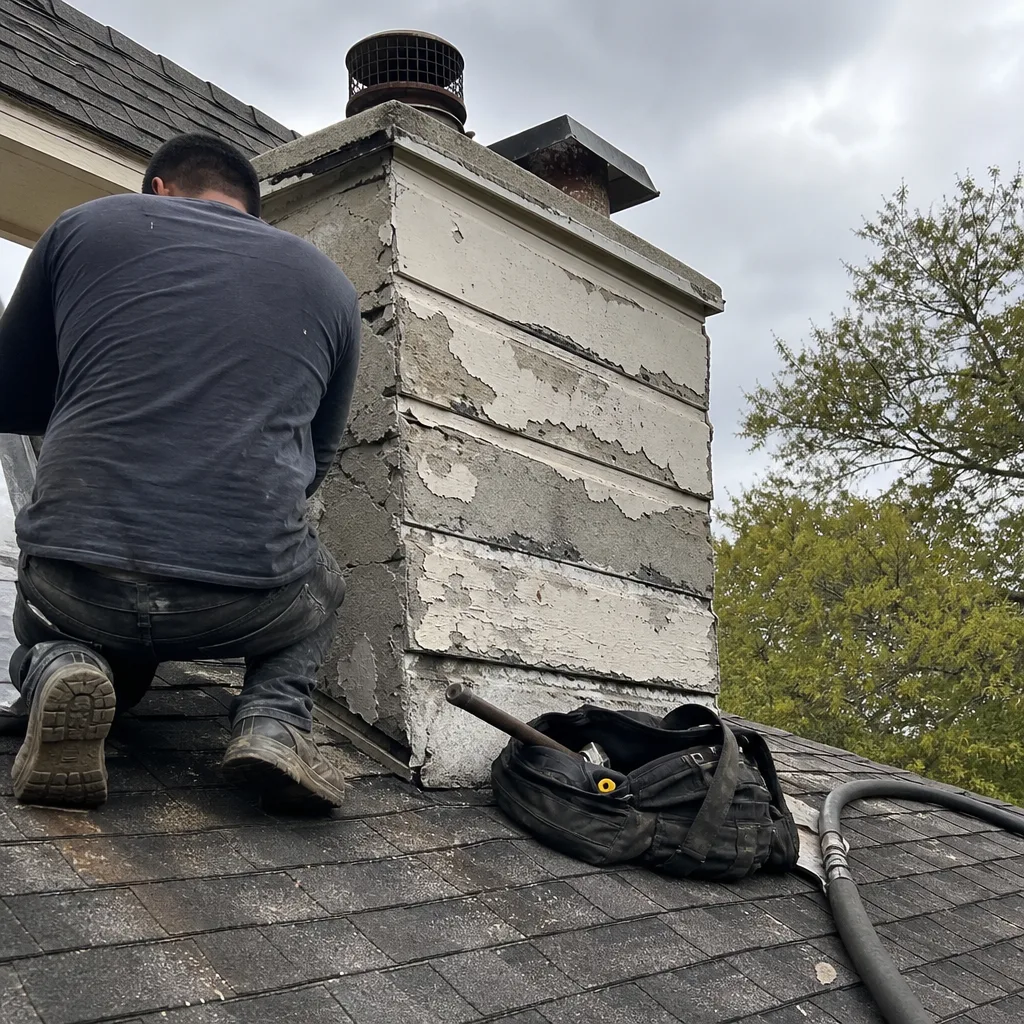 Before
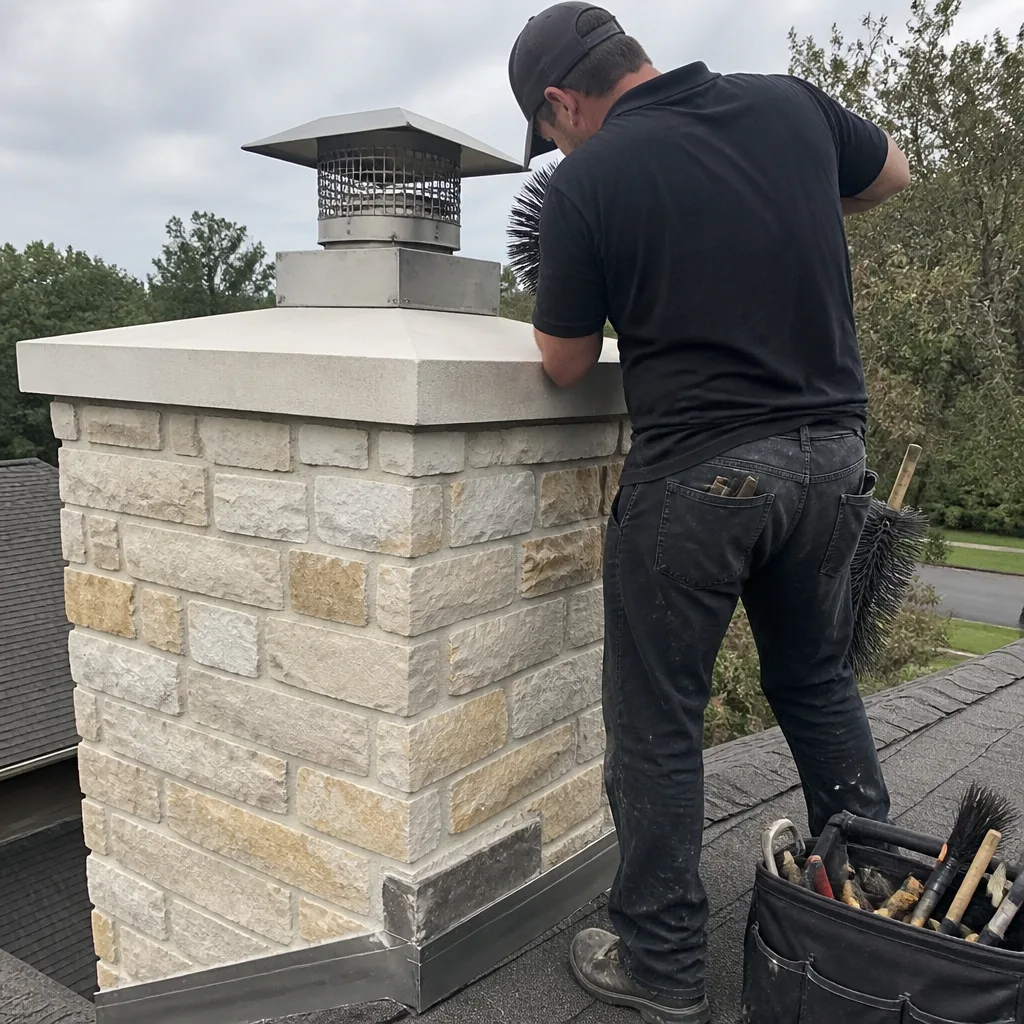 After
After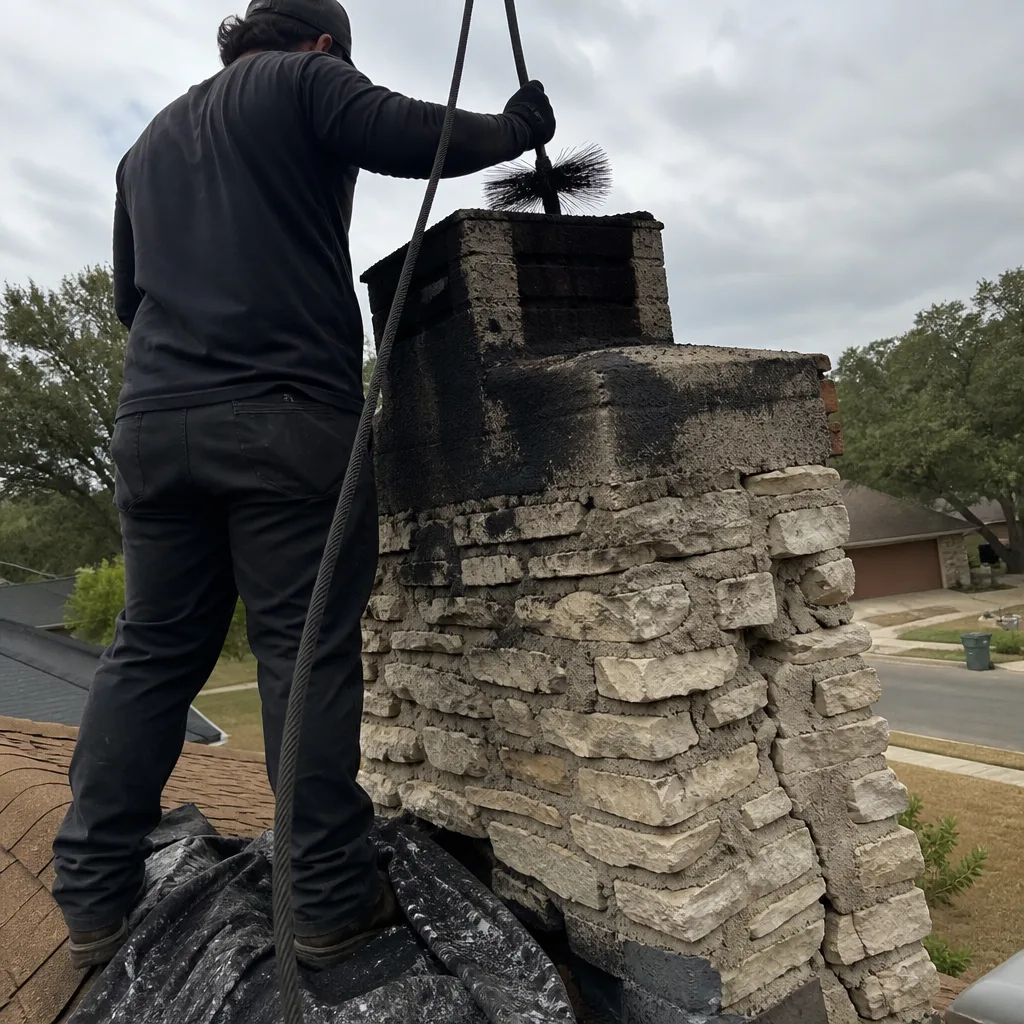 Before
 After
After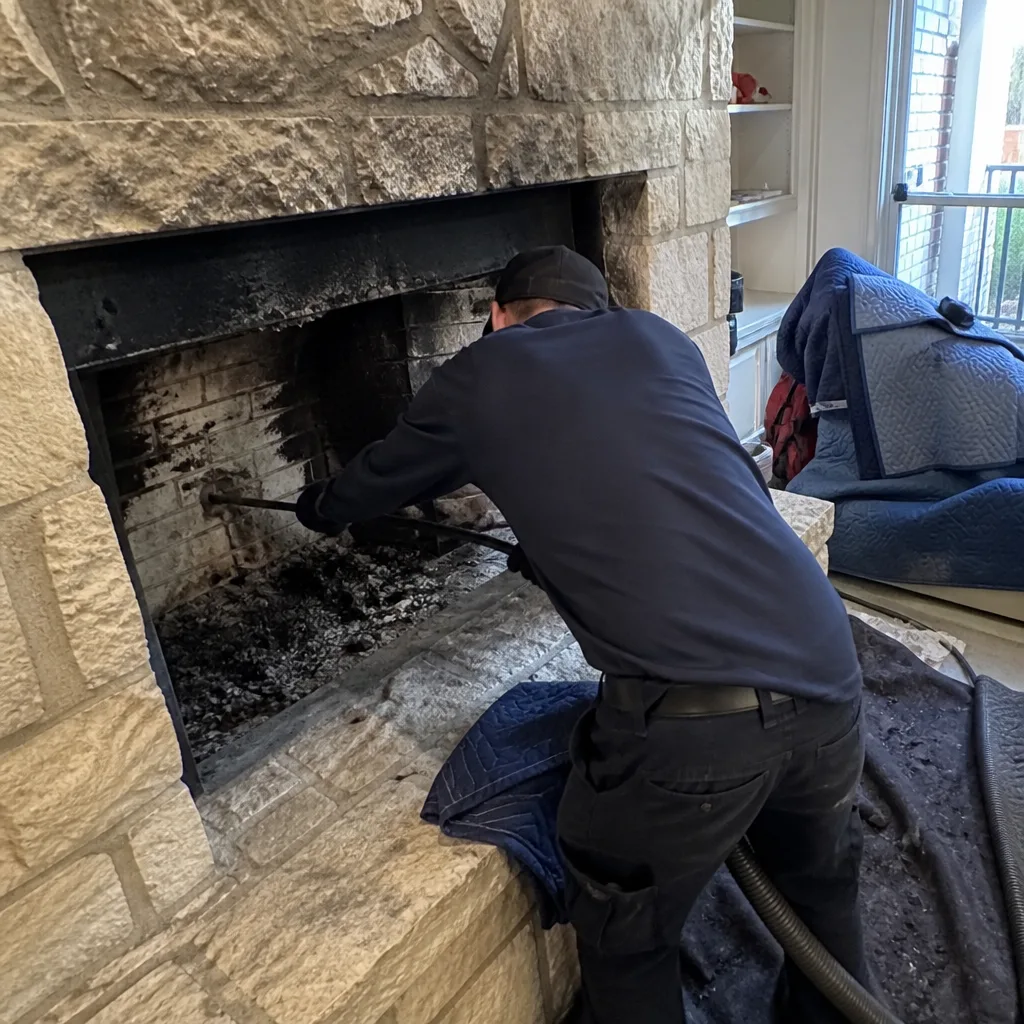 Before
 After
AfterFrequently Asked Questions
A standard chimney sweep in Austin typically costs between $189 and $329 for a single flue with an accessible roof, with most jobs landing around $229. Factors that push the price up include the presence of animals or nests, extreme creosote buildup, a steep or multi-story roof, or a chimney that hasn’t been swept in several years. We always give a written price before any work starts, so the final invoice matches the quote. Call (254) 274-4486 for an exact quote on your chimney.
The National Fire Protection Association recommends an annual inspection and a sweep whenever creosote reaches 1/8 inch. In Austin, where the burning season is short but the humidity is high and many homeowners burn oak and pecan, an annual sweep is the safest recommendation. If you burn more than twice a week during the November-to-February season, you may need a mid-season sweep as well. The spring post-season sweep is the smartest schedule for Austin because it removes creosote before the humid summer, but pre-season or mid-season sweeps work too. Call (254) 274-4486 to schedule.
You need a new liner when the existing one is cracked, spalled, or missing sections, and the only way to know is with a camera inspection that shows the damage clearly. A legitimate sweep will show you the camera images and explain exactly what you’re looking at. If someone recommends a liner replacement without running a camera or showing you the evidence, get a second opinion. At Ashby Chimney Austin, we never recommend a liner replacement without camera documentation you can see for yourself, and we’ll tell you plainly when a repair can safely wait. Call (254) 274-4486 and we’ll walk you through what we find.
At best, you get a smoky fire and a lingering smell that lasts for days. At worst, the creosote buildup reaches the point where a single floating ember ignites it, and you have a chimney fire that can spread into the house structure. Between those extremes are the slow failures: a cracked liner that leaks carbon monoxide into unused wall cavities, water intrusion that rots wood framing and drywall over two or three winters, and an animal nest that blocks the flue so badly the next fire smokes out the whole house. In Austin, skipping maintenance also means heat-cycle damage goes unaddressed and compounds every summer. The cost to fix all of these after the fact is several times the cost of an annual sweep and inspection. Call (254) 274-4486 and get on the calendar before the burning season.
Yes, because Austin’s summer heat and spring thunderstorms damage chimneys whether you burn fires or not. The crown, cap, and masonry are exposed to the elements year-round. An unused chimney also develops some problems faster because the flue stays cold and damp through the humid season, which accelerates mortar degradation. A 30-minute inspection with camera documentation costs less than the first hour of a water damage restoration. Call (254) 274-4486 for a free estimate.
Generally no. Burn bans in Austin and Travis County are issued when drought and wind conditions make outdoor burning dangerous, and they usually restrict indoor fireplace use as well unless the fireplace is your primary heat source. Check the current Travis County burn ban status before building a fire, and never rely on an open fireplace alone during a weather event. A well-maintained chimney with a functioning damper and clear flue is still the safest way to enjoy a wood fire when conditions allow. Call (254) 274-4486 if you want a pre-season inspection done before the bans lift.
The Bottom Line
A chimney maintenance checklist that works for Austin is one that accounts for the climate: long, hot summers that stress masonry, sudden heavy rains that exploit every crack, and high humidity that makes creosote more damaging. Run the 11-point pre-season checklist in the fall, schedule your professional sweep and the 4 professional-only items, run the post-season checklist in the spring, and document everything with photos every year. The homeowners who follow this routine spend less money over the lifetime of their house, and they never find themselves with a $6,000 rebuild that could have been a $400 repair. For more guides & resources, explore our blog. Nathan Corliss and the team at Ashby Chimney Austin have been doing this work in Austin since 2002, and we’re happy to walk you through your checklist in person. Call (254) 274-4486 for a free estimate.
Written by Nathan Corliss, Owner at Ashby Chimney Austin, serving Austin since 2002.